Verify the external IdP connection and register SSO users
What you will learn
Understand the deployment-level OIDC connection, register external IdP users in D.Hub, and verify SSO login.
SSO lets people sign in to D.Hub with their organization accounts. D.Hub does not, however, create an account when an unregistered person signs in for the first time. An administrator must register the external identity provider (IdP) user in D.Hub first.
In this lesson, you will learn where the OIDC connection is configured, register an IdP user in the portal, and verify the actual sign-in flow.
Before you start
- You need a D.Hub Administrator account. Only administrators can open the Users and Groups pages.
- The external IdP connection is configured in the D.Hub Manager deployment, not in the portal. Work with your platform operator if the connection settings must change.
Understand the external IdP connection
The platform operator registers D.Hub as an OIDC client in the IdP and configures these values in the D.Hub Manager deployment:
OIDC_ISSUER— the public address where D.Hub acts as an OIDC providerOIDC_UPSTREAM_DISCOVERY_URL— the external IdP's OIDC Discovery URLOIDC_UPSTREAM_CLIENT_IDandOIDC_UPSTREAM_CLIENT_SECRET— the client credentials issued for D.Hub by the IdP
The Redirect URI registered in the IdP is <OIDC_ISSUER>/authorize/callback. For example, when OIDC_ISSUER is https://hub.example.com/auth/oidc, the Redirect URI is https://hub.example.com/auth/oidc/authorize/callback.
The IdP administration API must also be configured before the portal can search and register users and groups. The required settings depend on the connected provider, such as Keycloak, Azure AD/Entra ID, or Zitadel.
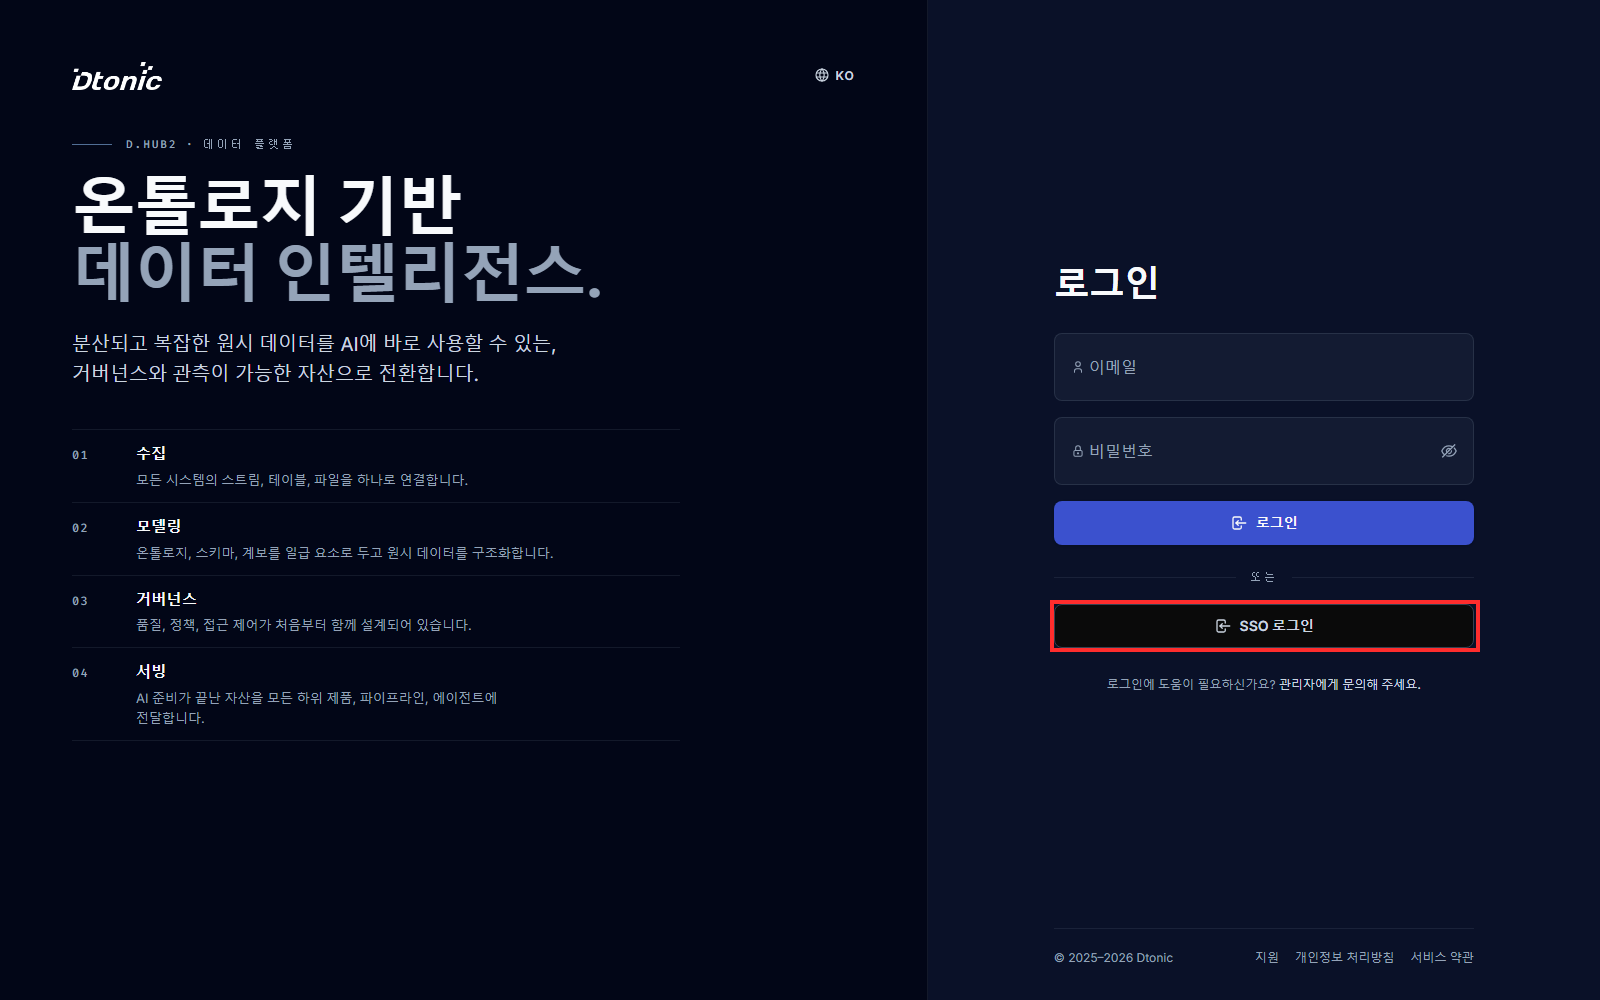
After the configuration is deployed, the login page shows SSO Login, and the registration buttons on the Users and Groups pages show the connected IdP name.
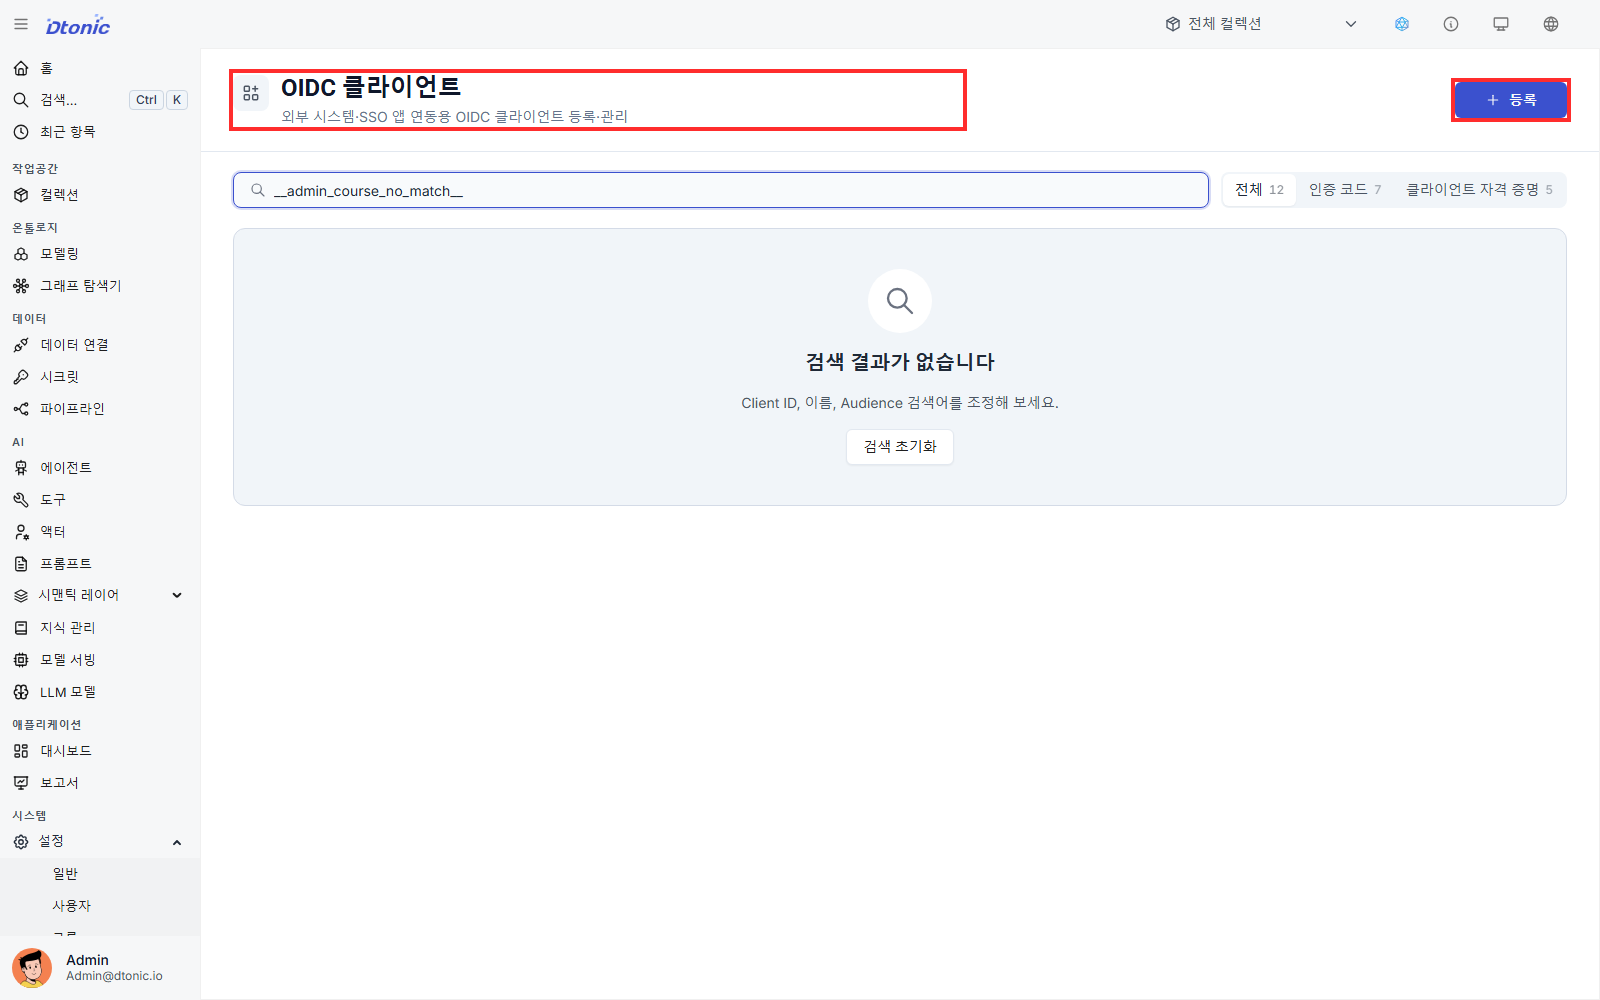
Register an IdP user
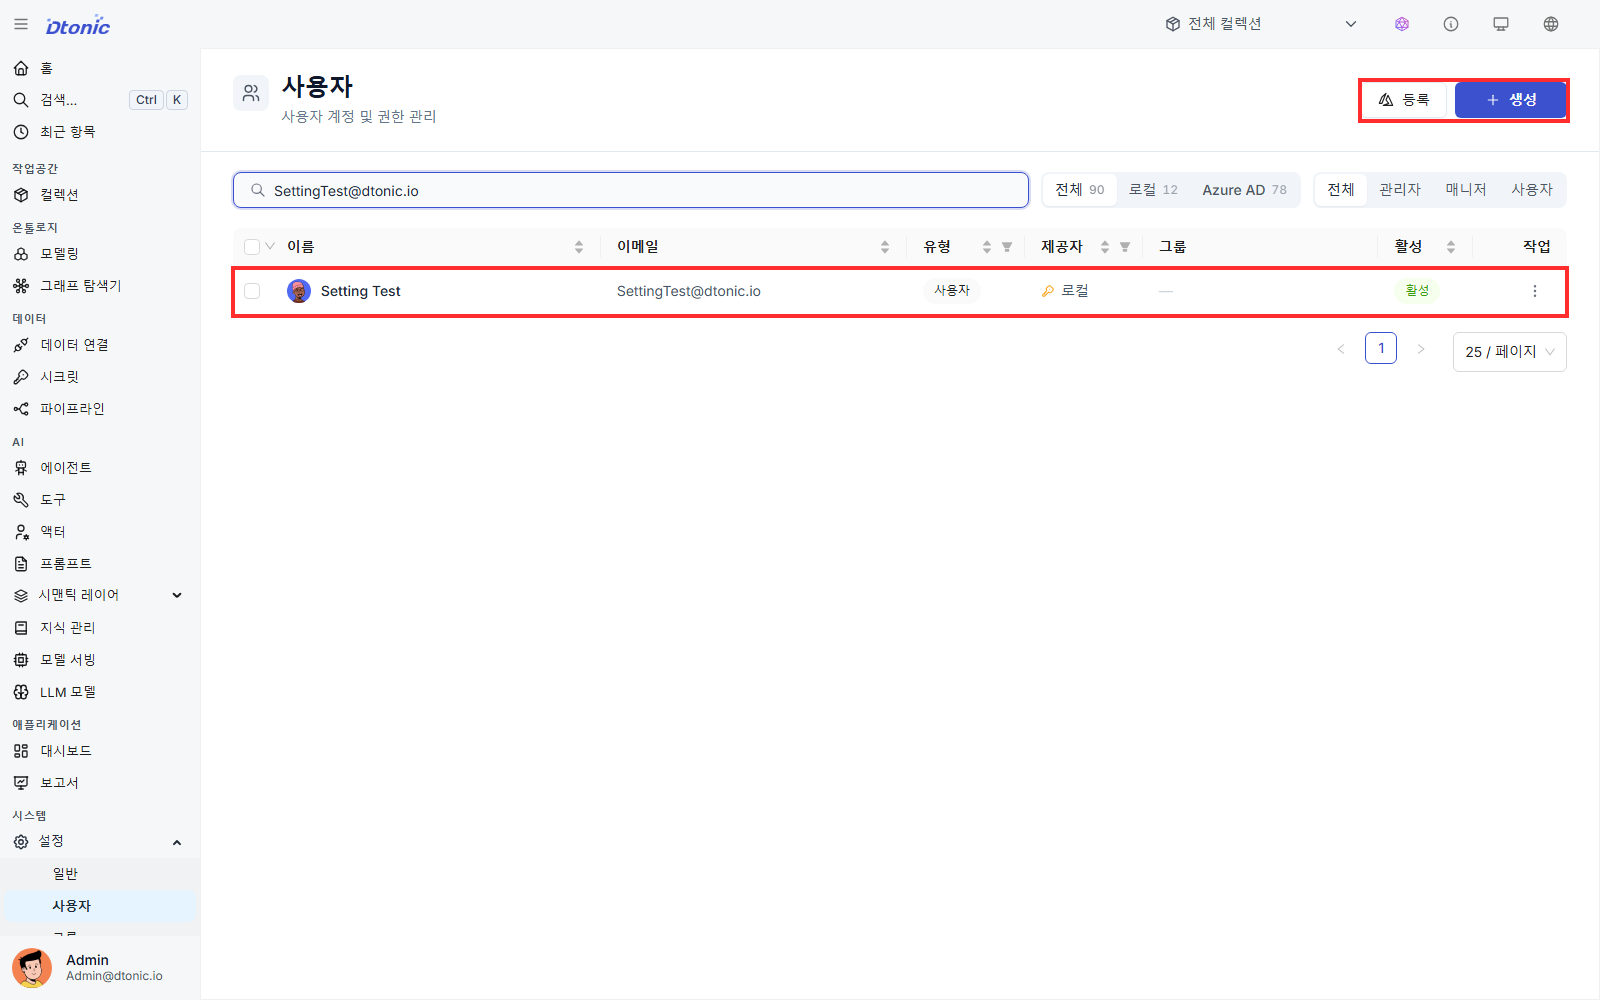
- In the sidebar, open System → Settings → Users.
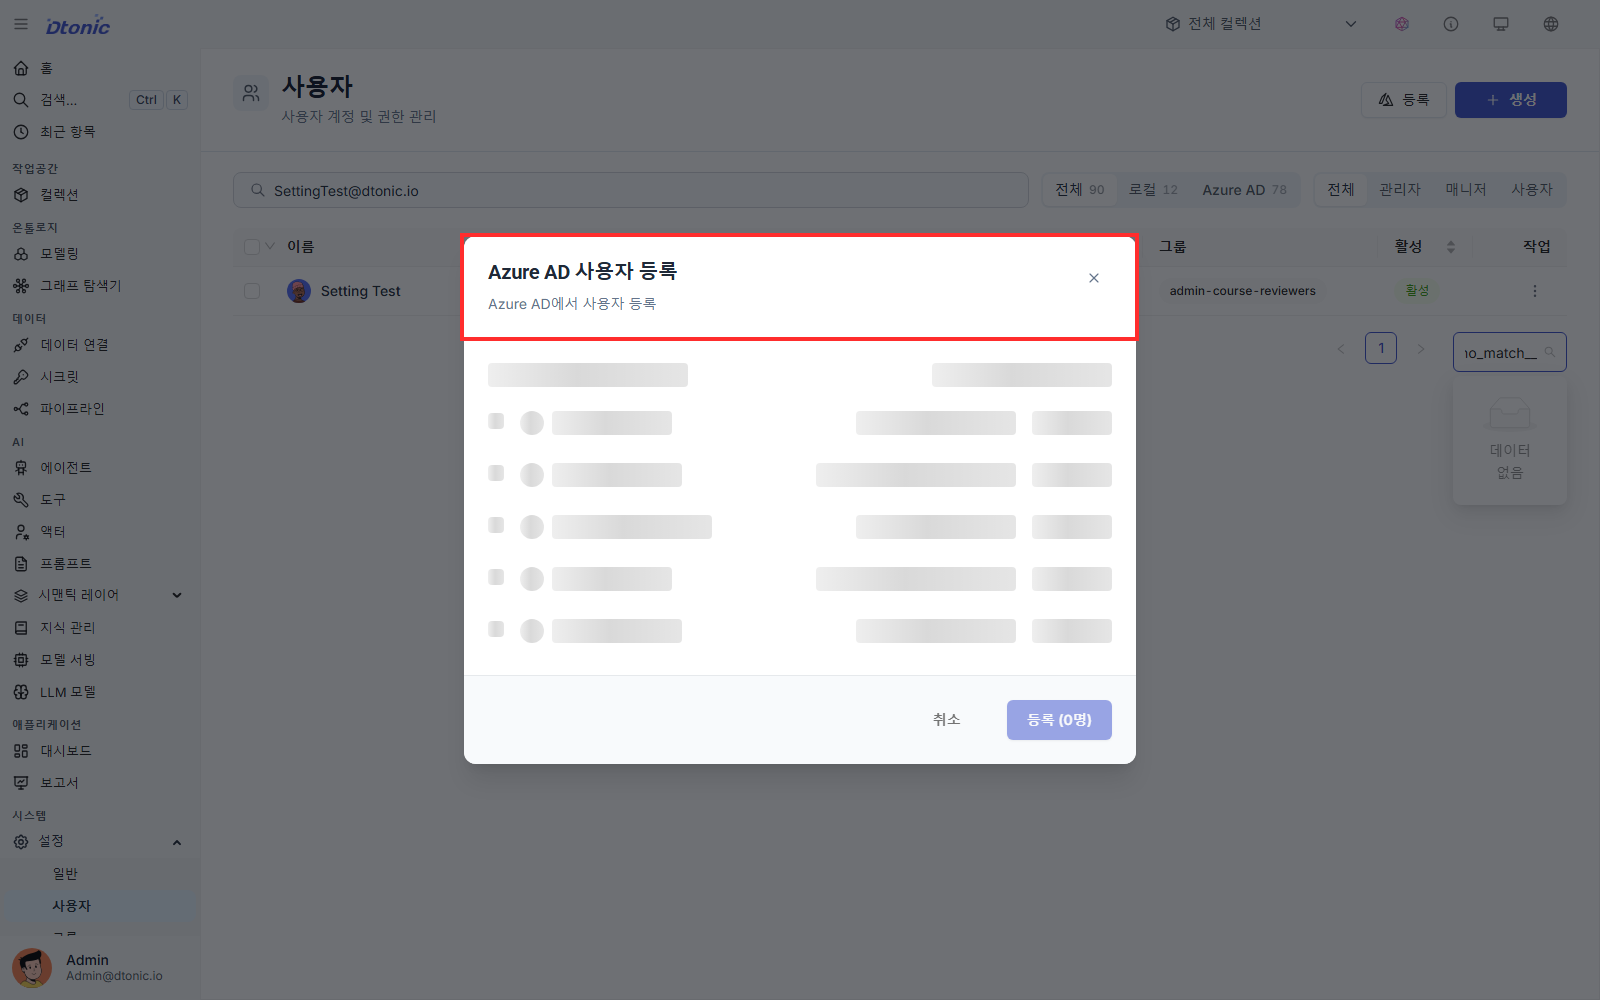
- Select Register in the upper-right corner. Its accessible label and the dialog title identify the connected IdP; the current production screen opens Register Azure AD User.
- Search by name or email.
- Select the person who needs D.Hub access, and then select Register.
- Confirm that the registered user's Type is appropriate. Keep ordinary users as User, and grant Manager or Administrator only when required.
User type controls the account's operational scope, while Reader, Writer, and Owner roles control actions on collections and assets. A User is not globally read-only: within an authorized collection, users can create assets such as datasets, Code, pipelines, and dashboards. Creating collections or connectors and importing scenarios requires a Manager or Administrator.
With a write-capable IdP, you can also select that provider in Create User to create the user in both the IdP and D.Hub. With a read-only IdP, register an existing IdP user instead.
Verify SSO login
- Keep your administrator session open and open the D.Hub login page in a private window or another browser.
- Select SSO Login and authenticate as the IdP user you just registered.
- Confirm that the D.Hub home page opens.
- In the administrator session, return to System → Settings → Users and confirm that the user's provider is shown as OIDC.
An unregistered IdP user is denied access to D.Hub even after successful IdP authentication. This prevents arbitrary external accounts from becoming D.Hub accounts automatically.
Self-check
- The login page shows SSO Login.
- System → Settings → Users shows a user registration button for the connected IdP.
- The registered IdP user can sign in through SSO.
- An unregistered IdP user is not automatically created in D.Hub.
Next lesson
Register an IdP group in D.Hub and grant collection access to the group.
Before you finish
Use these questions to check whether you achieved this lesson's goal.
- Can you repeat ‘Verify the external IdP connection and register SSO users’ without following the instructions?
- Can you name at least one place to check when the result differs from what you expected?